 Kettle Tools
I'm working for
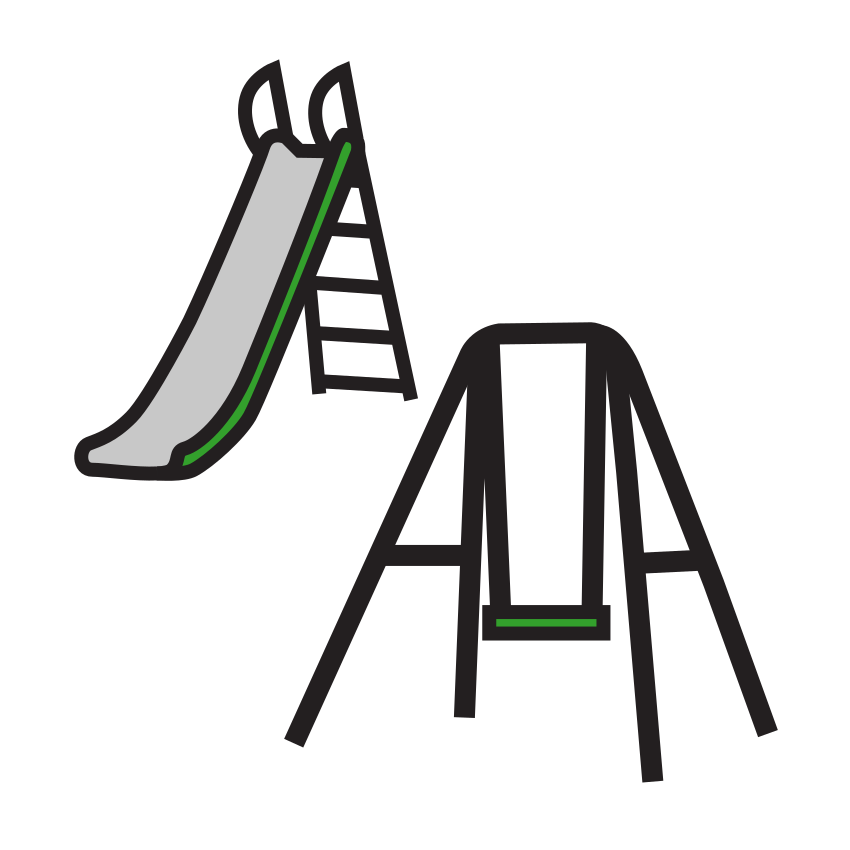
Park
Make a printable "I'm working for" token board in a minute. Pick a reward picture or your own photo, 1–10 tokens, print with matching cut-out tokens. Runs in your browser.
Print at 100% / Actual size. Edit labels, choose a symbol, or add a photo to each card. Photos must be re-added after reloading or sharing. Symbols are unmodified; black and white uses a display filter.
Park
Symbols: Mulberry Symbols by Steve Lee, licensed CC BY-SA 4.0 — mulberrysymbols.org · Print at 100% / Actual size
Symbols: Mulberry Symbols by Steve Lee, licensed CC BY-SA 4.0 — mulberrysymbols.org · Print at 100% / Actual size
Symbols: Mulberry Symbols by Steve Lee, licensed CC BY-SA 4.0 — mulberrysymbols.org
A token board gives a visible place to collect tokens toward an agreed activity or item. Before building one, discuss what the board means with the child and the adults who will use it. Choose something that is available and suitable for the setting. A picture of a park is confusing if a park visit cannot happen that day. Keep the agreement simple enough to describe in a sentence, and check that the reward is something the child actually wants.
Edit the “I’m working for” reward card with a short label and a Mulberry symbol or a local photo. Set the number of tokens from one to ten. The preview updates to show that many spaces and a matching sheet of cut-out tokens. Choose a star, circle, smiley, or custom picture. For the custom option, edit the token picture separately from the reward so each can show something different. Labels help other adults understand a board even if they have not seen the original agreement.
Pick half letter for a compact board, full page for a larger reward picture, or strip for a narrow row of spaces. The separate token sheet keeps the physical tokens at 25 mm regardless of the board choice. Decide whether tokens will sit on top of the spaces or be attached with hook and loop dots. Keep a few blank replacement pieces available if small parts tend to disappear during the day.
Choose US Letter or A4 and open Print / Save PDF. Match the printer paper to the setting, turn off browser headers and footers, and choose actual size or 100 percent. Avoid fit-to-page scaling when token diameter matters. The second sheet contains 25 mm token boxes with cut lines. Measure a draft with a ruler before laminating a batch: printer margins and dialog settings can change the physical result even when the on-screen preview looks right.
Cut the pieces with adult supervision and choose materials appropriate for the child. Small loose tokens may be unsuitable in some settings. Keep the backing of hook and loop dots out of reach and follow the laminator’s instructions. Seal the printed board and token sheet, leaving an intact border around each piece. A printed symbol credit appears on every sheet and is also included in PNG downloads; keep it with copies you distribute.
Start from an agreement that the child can understand in the current situation. One or two spaces may be easier to explain than a full row of ten. If you consider adding spaces, discuss the change before starting a new board rather than changing the finish line while someone is collecting tokens. A higher count is not automatically a better board. The meaningful choice depends on the activity, the time available, and the person’s preferences.
Consider how to fade adult reminders as the routine becomes familiar. You might leave the board available while talking through each token less often, or use a simple checklist for an activity that no longer needs a token system. Agree on changes with the people supporting the child. Keep access to essential needs, communication, breaks, food, and care separate from collecting tokens. A board should never become a reason to ignore discomfort or a request for help.
Unclear agreements are difficult for everyone. Avoid broad labels such as “be good”; describe the specific activity in language the child understands. Another mistake is showing an unavailable reward or changing its meaning after the board has started. Check supplies and time before presenting the choice. Give the child a way to say that a reward is no longer interesting and agree on what to do next. Do not assume the same picture will stay useful indefinitely.
Too many colours, tiny labels, or elaborate token art can make the spaces hard to see. Print a plain draft and check it at the distance where it will be used. Black and white mode uses grayscale for display and printing; the original SVG files remain unmodified. This maker is a support tool, not therapy. Ask the child’s teacher, BCBA or OT how it fits their support plan. There are no medical or diagnostic claims and no promised outcomes.
Photos stay on your device. The tool decodes them locally and displays them on canvases without an upload. Labels, icon choices, and board settings are saved in this browser’s localStorage, but photos are not persisted. Re-add photos after reopening the page. A share link puts only non-photo settings in the URL hash. The labels are readable by anyone who receives that link, so use general descriptions when sharing a template.
The print CSS uses 25 mm boxes on the separate token sheet. Print at actual size and measure a draft to check that your printer has not scaled it.
Yes. The token count accepts any whole number from one through ten. The board and cut-out sheet update together.
Yes. Edit the reward card and the custom token card separately, then select Custom icon / photo as the token shape.
Use Print / Save PDF and choose your browser’s PDF destination. There is no sign-up or payment step.
No. It includes labels, settings, and symbol choices. Re-add photos on the receiving device. Avoid private labels in links you share.
There is no automatic progression. Agree any change before starting a new board and ask the child’s support team when you need guidance.