 Kettle Tools
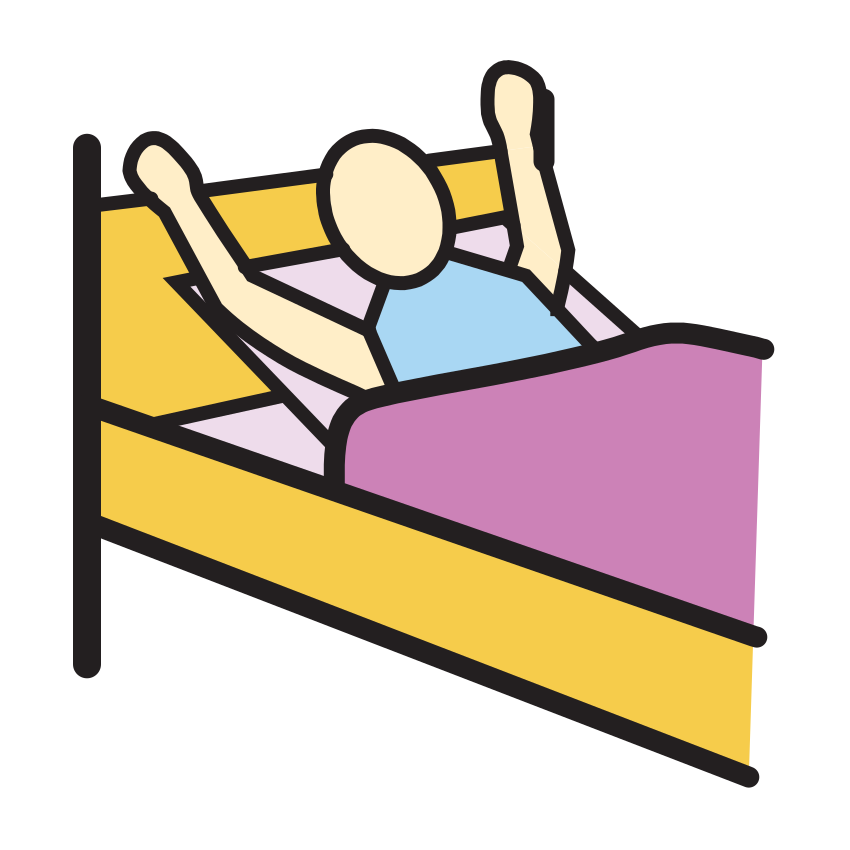
Wake up
□ FinishedBuild a picture schedule with up to 12 steps, six editable templates, local photos and printable cards. Save a PDF or PNG in your browser.
Print at 100% / Actual size. Edit labels, choose a symbol, or add a photo to each card. Photos must be re-added after reloading or sharing. Symbols are unmodified; black and white uses a display filter.
Wake up
□ Finished
Toilet
□ Finished
Wash face
□ Finished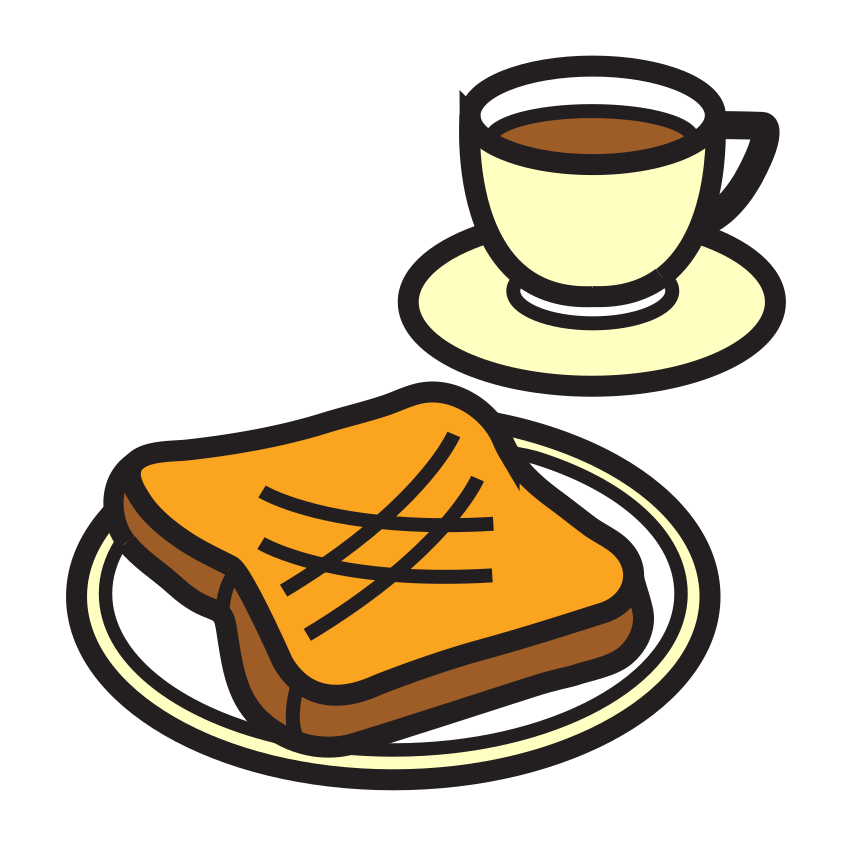
Breakfast
□ Finished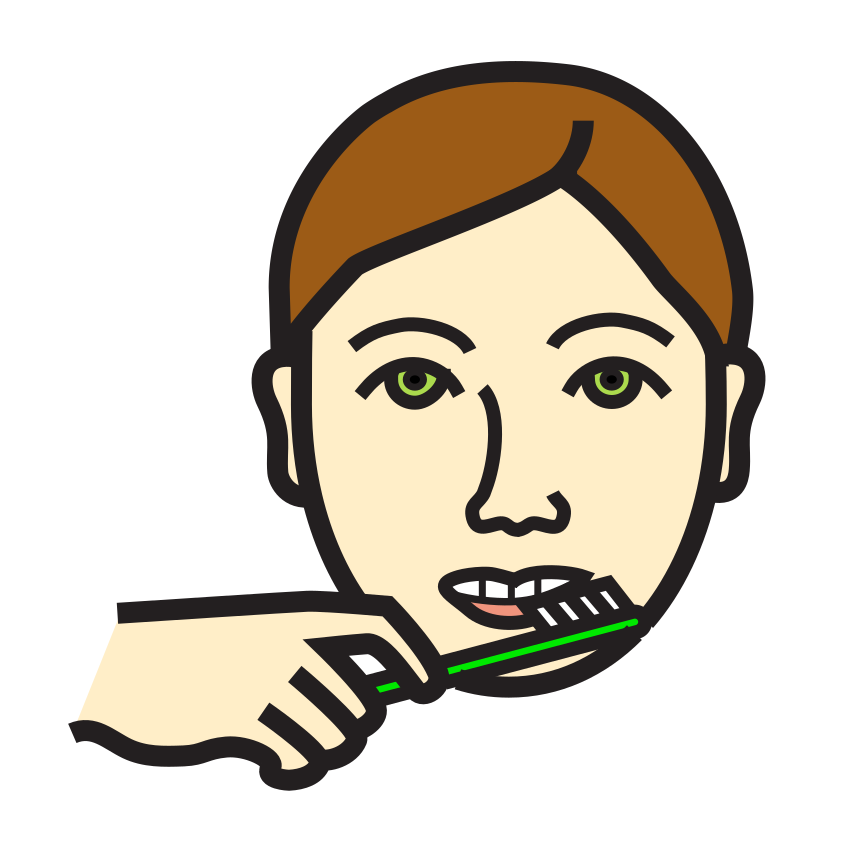
Brush teeth
□ Finished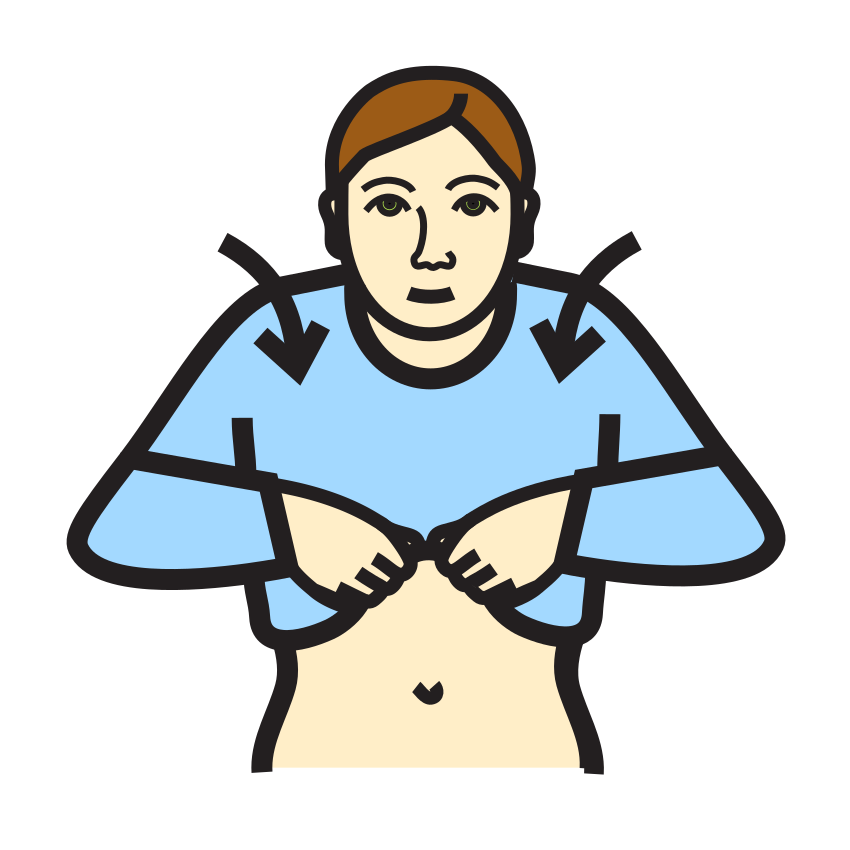
Get dressed
□ FinishedSymbols: Mulberry Symbols by Steve Lee, licensed CC BY-SA 4.0 — mulberrysymbols.org · Print at 100% / Actual size
Symbols: Mulberry Symbols by Steve Lee, licensed CC BY-SA 4.0 — mulberrysymbols.org
Choose one routine that has a clear beginning and ending. A visual schedule is a sequence of pictures and labels that you can refer to together. Start with a familiar part of the day rather than trying to describe every activity from waking up to bedtime. Ask the child which pictures make sense to them: an adult’s favourite symbol may mean something quite different to a younger reader.
Load one of the six starter templates: morning, bedtime, school day, getting dressed, handwashing, or toileting. These are editable examples, not instructions that every household should follow. Replace steps that do not match your routine. You can add up to twelve steps, remove any step, and move a step using its up and down buttons. Dragging also works. Keep the order realistic so the sheet matches what happens next.
Give each step a short action label, such as “Put on shoes”. Choose a Mulberry symbol with the searchable picker or add a photo of the actual object or place. Photographs can be useful when two doors or bags look similar. Use a clear close view without unrelated items in the background. Optional times are plain text, so you can write “after lunch” instead of promising an exact clock time.
Select Letter or A4 before opening Print / Save PDF. In the browser dialog, use the matching paper, actual size or 100 percent scaling, and disable browser headers and footers. Print a draft on ordinary paper first. Check that every label can be read from the place where the schedule will hang. A horizontal strip may fit a desk; a vertical strip can fit beside a doorway. A grid uses space more compactly, while cut-apart cards make it easier to rearrange a routine.
Cut lines mark individual cards. Leave enough room around the printed edges when laminating to keep the seal closed. Round sharp corners where appropriate and place hook and loop dots consistently. The finished checkbox column lets someone mark progress with a suitable erasable pen on a laminated sheet. You can also move cut-apart cards into a separate finished pocket that you supply. Keep the printed symbol credit with the sheet when sharing it.
Introduce the schedule when there is time to explain it. Point to the current picture, say its label, and refer to the next step at the natural transition. Give the child time to look before repeating a prompt. As the routine becomes familiar, consider pointing less often or letting the child check the next card themselves. There is no required timetable for reducing support; some people prefer to keep a schedule available even for well-known routines.
If a twelve-step list feels busy, show only the next three steps and keep the rest out of view. If the child wants more information, add a time or a more specific label. Make changes together where possible. For an unexpected change, replace or relabel the affected card before the transition and explain the new plan. Avoid silently leaving an activity on the board after it has been cancelled.
A frequent problem is making the sequence too detailed for the situation. Handwashing might need several pictures during practice but only one picture in a morning routine. Another problem is choosing abstract symbols without explaining them. Check understanding by talking about the picture in context, rather than assuming a printed symbol is automatically understood. Avoid using the schedule as a record of mistakes or a demand to complete activities regardless of fatigue, discomfort, or changing circumstances.
Review the sheet with the people who use it in different places. School staff may use different words for the same activity. Agree on labels and where finished cards go, then keep a spare copy for replacements. This maker is a support tool, not therapy. Work with the child’s teacher, BCBA or OT when deciding how a schedule fits an existing support plan. It does not make medical, diagnostic, or outcome promises.
Photos stay on your device and are drawn locally on canvas. Board settings, labels, and symbol choices are saved in this browser’s localStorage. Photos are not saved and must be re-added after a reload. A share link includes non-photo board settings in its URL hash; anyone with the link can read those labels, so avoid private information. Download a PNG or print a copy before closing if you need a lasting picture of a photo-based schedule.
Yes. Use each step’s Move up and Move down buttons. They keep focus on the moved step and announce its new position. Dragging is also available.
Morning, bedtime, school day, getting dressed, handwashing, and toileting are editable starting sequences. Change them to match your actual routine.
Yes. Times are optional text fields. Write a clock time, a broad phrase such as after lunch, or leave them hidden.
A schedule can contain one to twelve steps. Use a shorter sequence if the full sheet feels crowded.
Print cut-apart cards and supply a separate envelope or pocket. Alternatively enable the finished checkboxes and mark them on the sheet.
No. Settings and labels return from localStorage, but photo files stay only in the current session. Re-add them or keep a printed or exported copy.